
On this page I'm gonna post updates to what I do to make this Chinese p.o.s. cab playable. First thing I did was remove the buttons and joysticks that was absolute crap. Now I have Seimitsu LS-32 sticks and Seimitsu pearl buttons. Start buttons (24 mm) are Sanwa. Just like on my EGRET II cabinet.
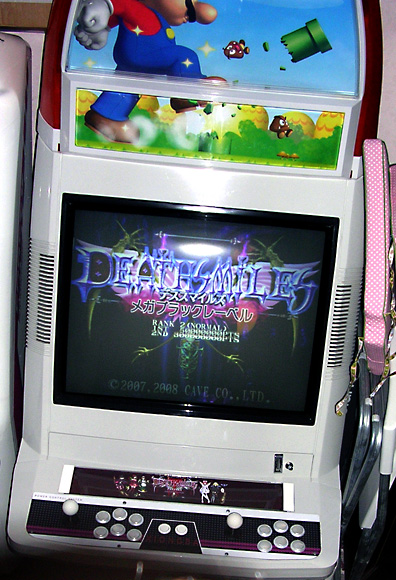
Here's another picture showing the whole cabinet (click to open in a new window)

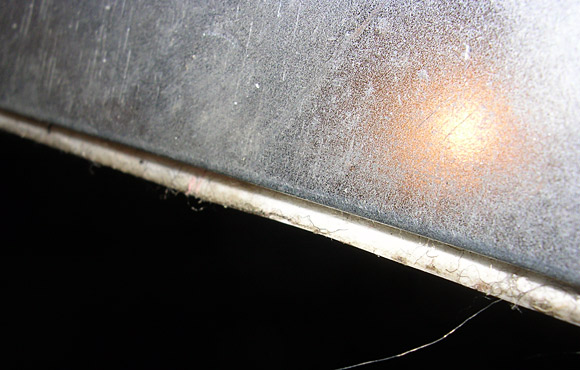
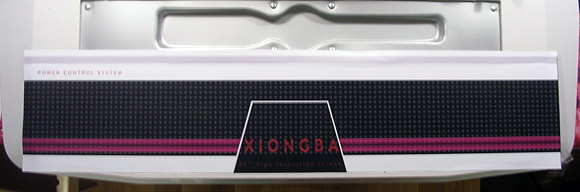
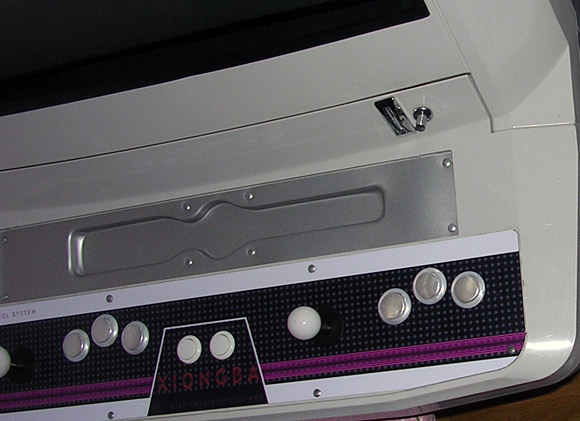
Here are some before pictures of what the quality control people at the chinese factory deemed satisfactory for us consumers:


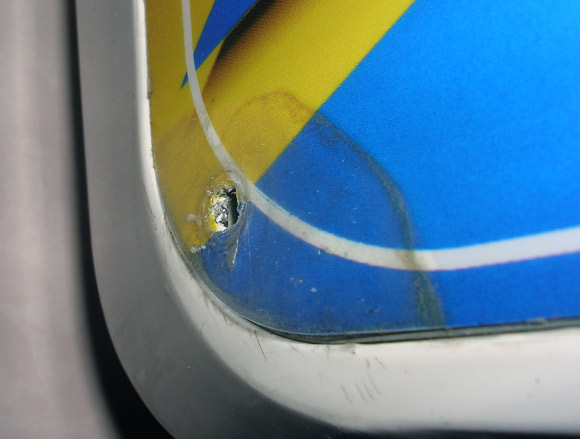

Here's a picture of the backside of the panel. See how the sticker outside the metal really gives that special quality look to the cabinet:
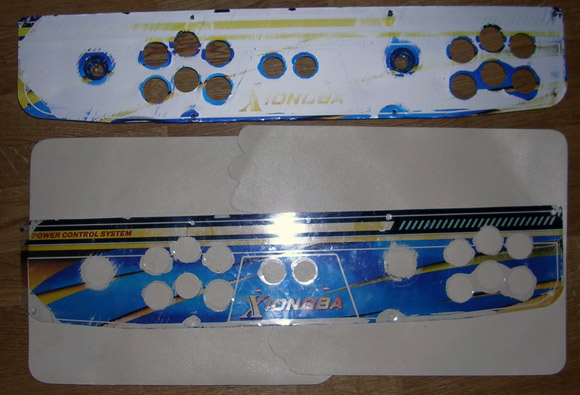
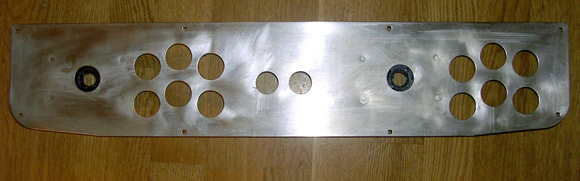
Here's a picture of the panel now that I've removed the buttons. I did not remove the Seimitsu joysticks since they won't be in the way for the application of the new CPO:

I have now removed the old CPO. I think they've used a regular paper printout and glued it on, then using a heat gun applying the transparent plastic (think super thin plexiglass) onto it:
I don't know what to say. P.O.S. quality:

I don't know what kind of adhesive they've used, but it gave my hands a chemical peel. Glad I didn't get a stronger reaction from it. I'm not allergic to anything. This is right before I put a couple of hours scrubbing it off (I wish I had a solvent at home, but alas no):

I have now scrubbed off the adhesive and the panel is very clean:

Now onto applying the new CPO. First I need to align it. I'm never good at these things. But to try and make it look good, I'll first make sure I get the only buttons that need to fit the design. The start buttons:

I measured the distance from the center line I did above to the center of the holes and draw that onto the backside of the new CPO. I know, there's probably lots of easier ways, but my mind is weird that way. :P
Now I've glued the thing on using the adhesive that's on the back of the printed CPO I got from MAME Marquees. To get it really smooth, you begin peeling the sticker loose from the protective paper just a couple of inches at the time while rubbing the sticker flat againt your control panel with a soft cloth. A no-brainer really.
Now that the CPO is on smoothly, let's add buttons:


I cut the sides of the sticker off by placing it face down on a pizza carton and just like that, it's a perfect fit. Just the wiring left to do, but that's for later. Need sleep now.
Looks good next to my EGRET II:
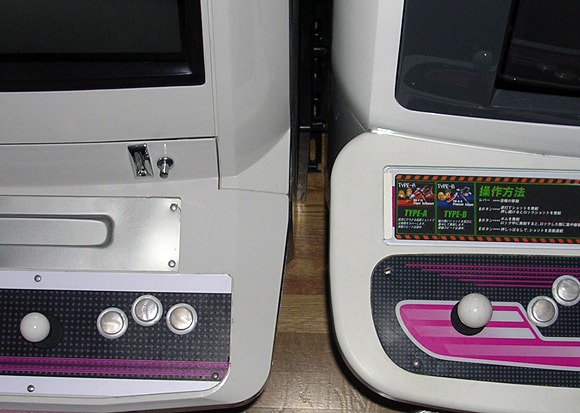
Next project for this cabinet is either getting some EGRET II style move sticker glass holders to replace that silver plastic ashtray or whatever it is, or a new marquee / top sign. I'll see what I can find.